How to create an email campaign in Email Studio
Build an AI-written cold email campaign in Swashi Email Studio: choose your audience, let Copy Intelligence write four steps, set the schedule and automate.
- 1Open Email Outreach. Click Email Outreach in the sidebar and scroll to Email Studio.
- 2Choose your audience. In Audience, pick ICP tiers, target regions, an optional niche, the maximum leads to contact and the lead source.
- 3Describe your offer. In Message, write one sentence about your offer in the Copy Intelligence box.
- 4Pick an angle and tone. Choose a persuasion angle such as Website Authority or Social Proof, and a tone such as Professional or Conversational.
- 5Write all four steps. Click Write All 4 Steps, then review each email and the recipient preview.
- 6Set the schedule. In Schedule, set the timezone, send window, sending days, optional start and end dates and the daily cap.
- 7Automate. Check the Campaign Summary and protection checklist, then click Automate to launch.
Prefer to watch? This tutorial walks through the same steps in the live app. All tutorials →
Email Studio is where you build an outreach campaign in Swashi: you choose who to contact, Copy Intelligence writes a four-email sequence, you set when it sends, and you click Automate. The Outreach Agent then sends each step on a paced schedule and stops following up when a lead replies. It is built for business owners and sales teams who want personalized cold email without writing every message by hand.
Product: Lead Gen & Outreach Automation
Before you start
- Connect at least one mailbox. See Connect a sending account. Without one, Email Studio shows "Connect an email account first".
- Have leads to contact: leads found in Lead Generation, your Google Sheet, or a CSV you uploaded (CSV import is available from the Growth plan).
- Add your offers and tone to your Business Brain (User Settings → Business Brain), so the AI writes in your voice.
Open Email Outreach in the sidebar and scroll to Email Studio ("Build your outreach sequence · AI angles · Schedule · Launch"). The wizard has four steps: Audience, Message, Schedule and Automate.
Step 1: Audience
ICP Tier (who to contact first). Select tiers A, B, C or D. Tier A = Perfect ICP, B = Strong fit, C = Average, D = Low priority. Start with tier A, then add B. Learn more in ICP tiers.
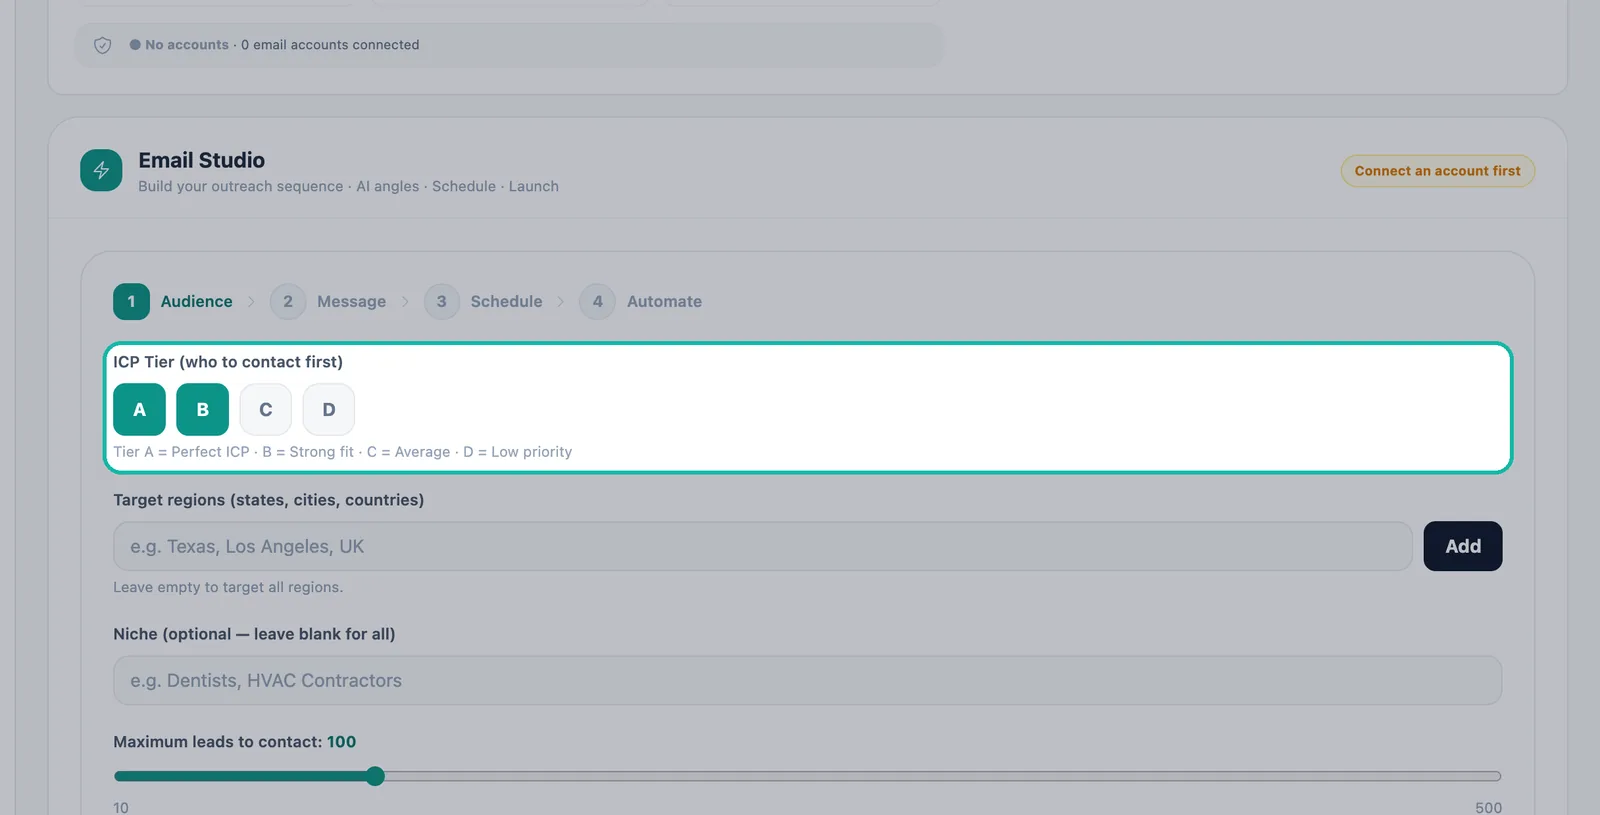
Start with tier A, then add B. Target regions (states, cities, countries). Type a region such as "Texas", "Los Angeles" or "UK" and click Add. Leave it empty to target all regions.
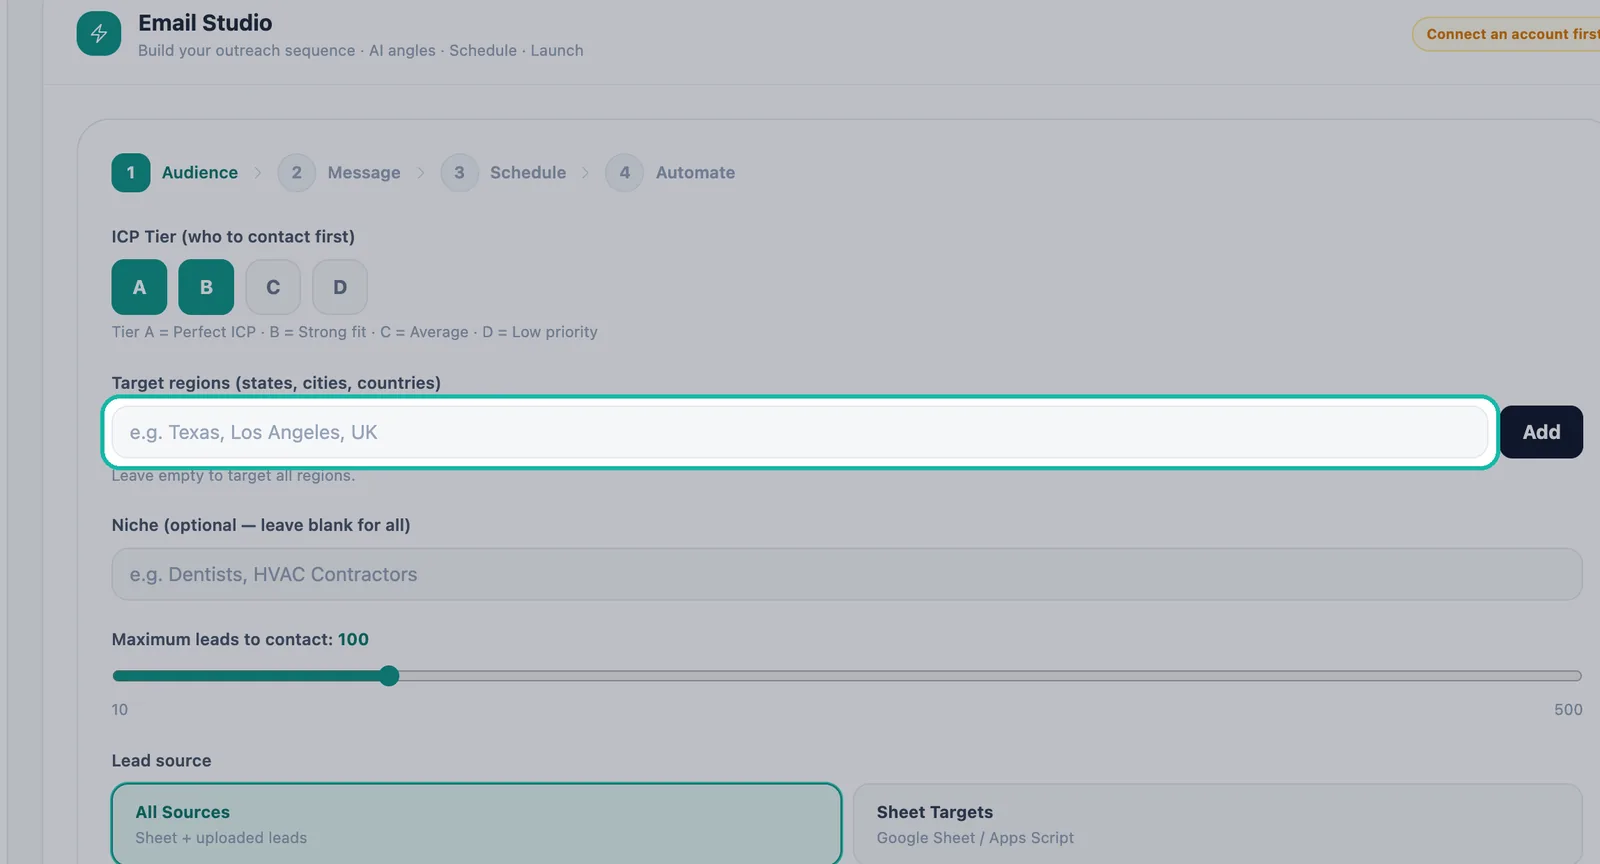
Add regions, or leave the field empty to target all regions. Niche (optional — leave blank for all). Focus the campaign on one industry, for example "Dentists" or "HVAC Contractors".
Maximum leads to contact. Set how many leads this campaign contacts.
Lead source. Choose one:
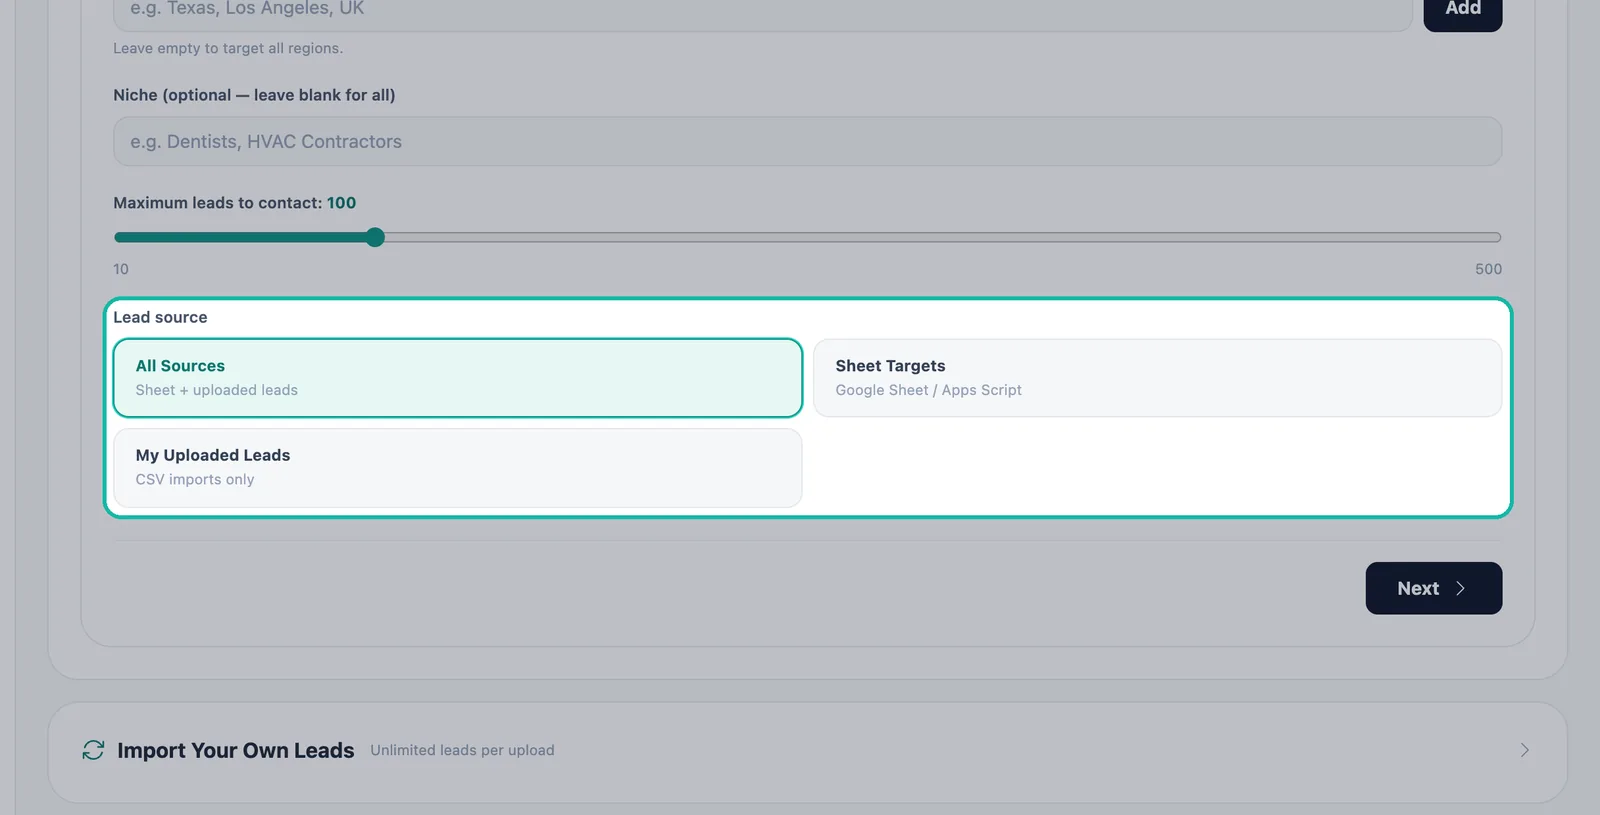
Choose where the campaign takes its leads from.
| Option | What it uses |
|---|---|
| All Sources | Sheet + uploaded leads |
| Sheet Targets | Your Google Sheet / Apps Script |
| My Uploaded Leads | CSV imports only |
Note:If you choose Sheet Targets without a sheet, the app shows "No Google Sheet connected — connect one in Settings first."
Step 2: Message
This step is powered by Copy Intelligence — AI writes with proven psychology.
Describe your offer. One sentence is enough, for example "offer a free website audit to dentists in Texas".
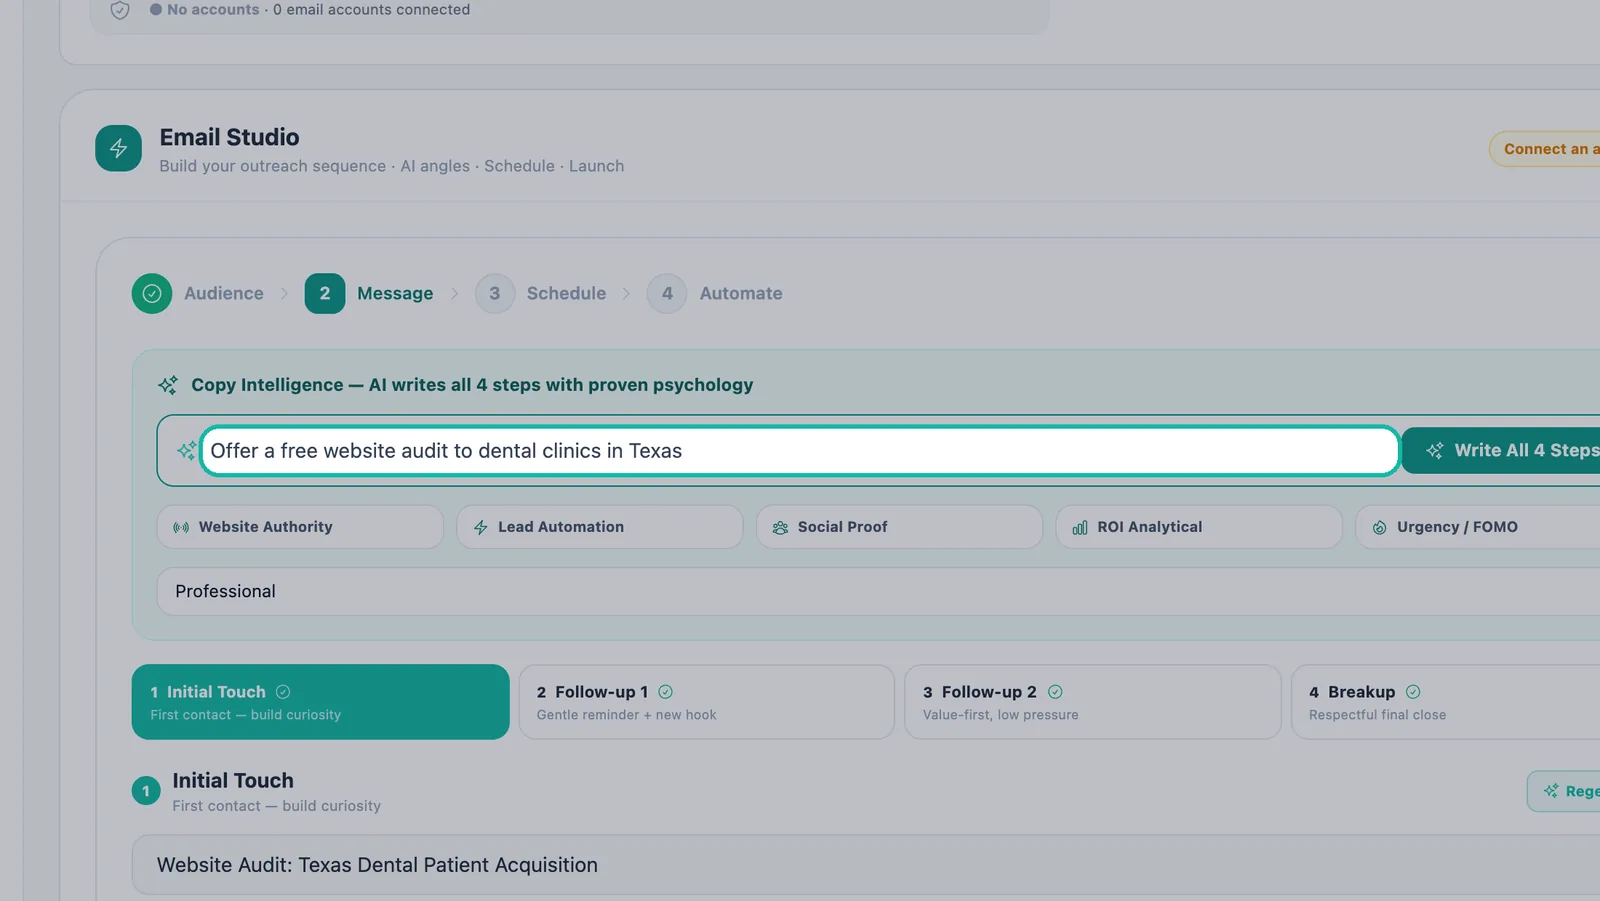
Describe your offer in one sentence. Choose your angle. Pick the persuasion angle the emails lean on:
| Angle | Idea |
|---|---|
| Website Authority | Their site is losing leads |
| Lead Automation | Automate their growth |
| Social Proof | Others like them win |
| ROI Analytical | Show the numbers |
| Urgency / FOMO | Window is closing |
Tone. Choose Professional, Conversational, Urgent, Analytical or Storytelling.
Click Write All 4 Steps. One click writes the full sequence in your brand voice. Click Regenerate to try again.
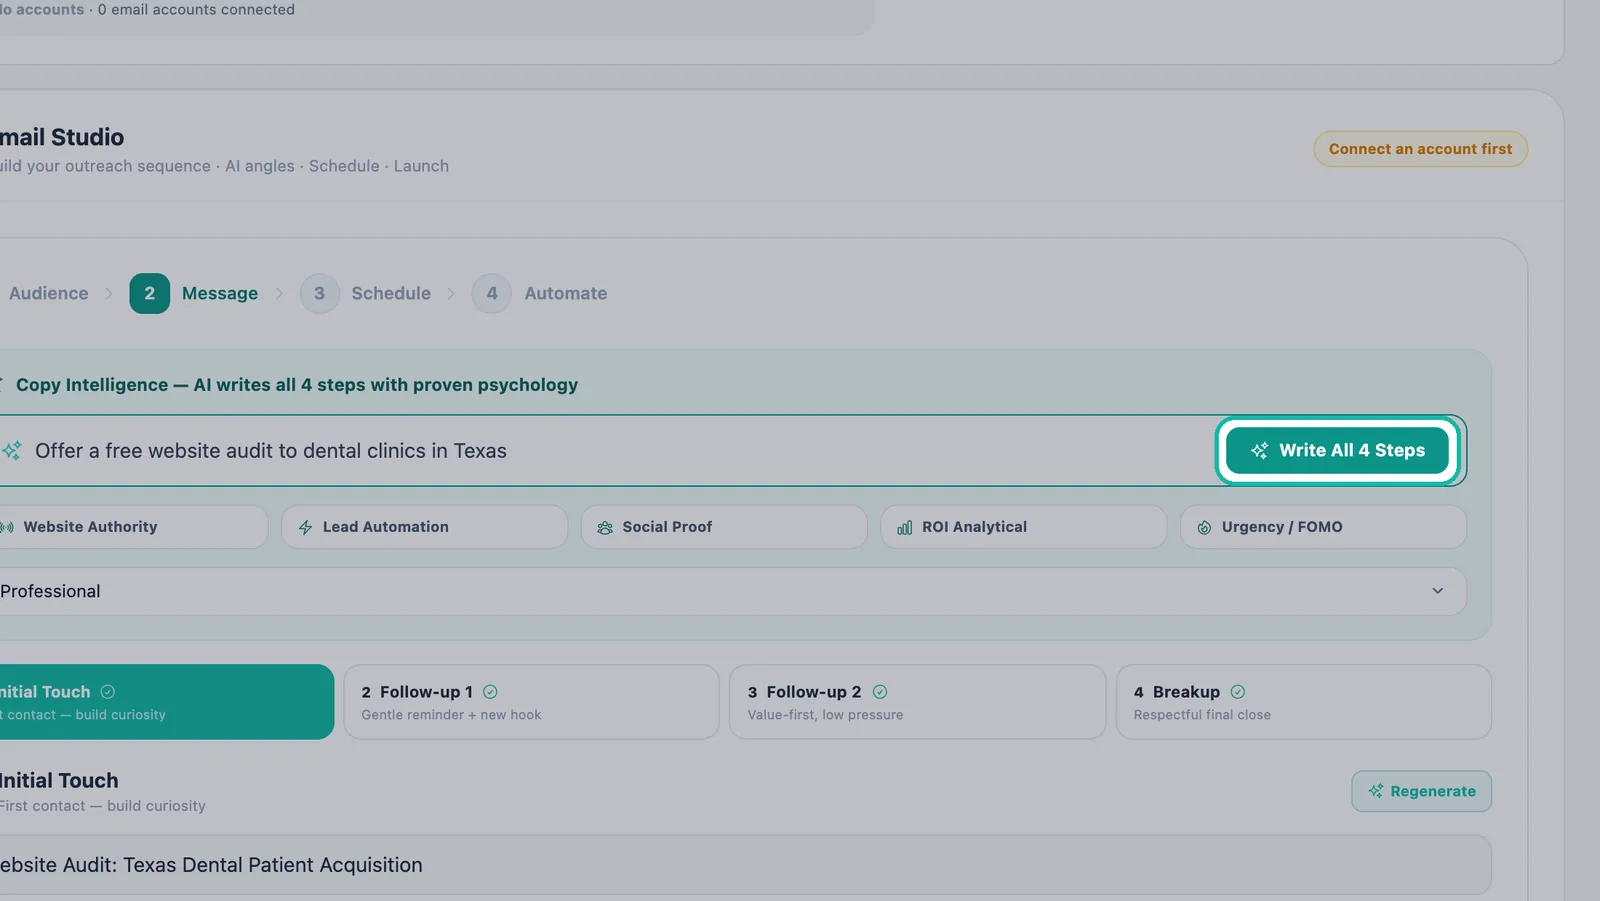
One click writes the whole four-email sequence. Review each step. The sequence has four emails with four jobs: Initial Touch, Follow-up 1, Follow-up 2 and Breakup. Use Sequence step to switch between them and edit the Subject line and Email body. The cadence bar shows Day 0, +3d, +6d and +9d, and "4/4 steps written" when all steps are ready. See Follow-ups and timing.
Check the preview. "PREVIEW — HOW RECIPIENTS SEE IT" shows the email with variables such as
{first_name},{business_name}and{city}filled in for a lead.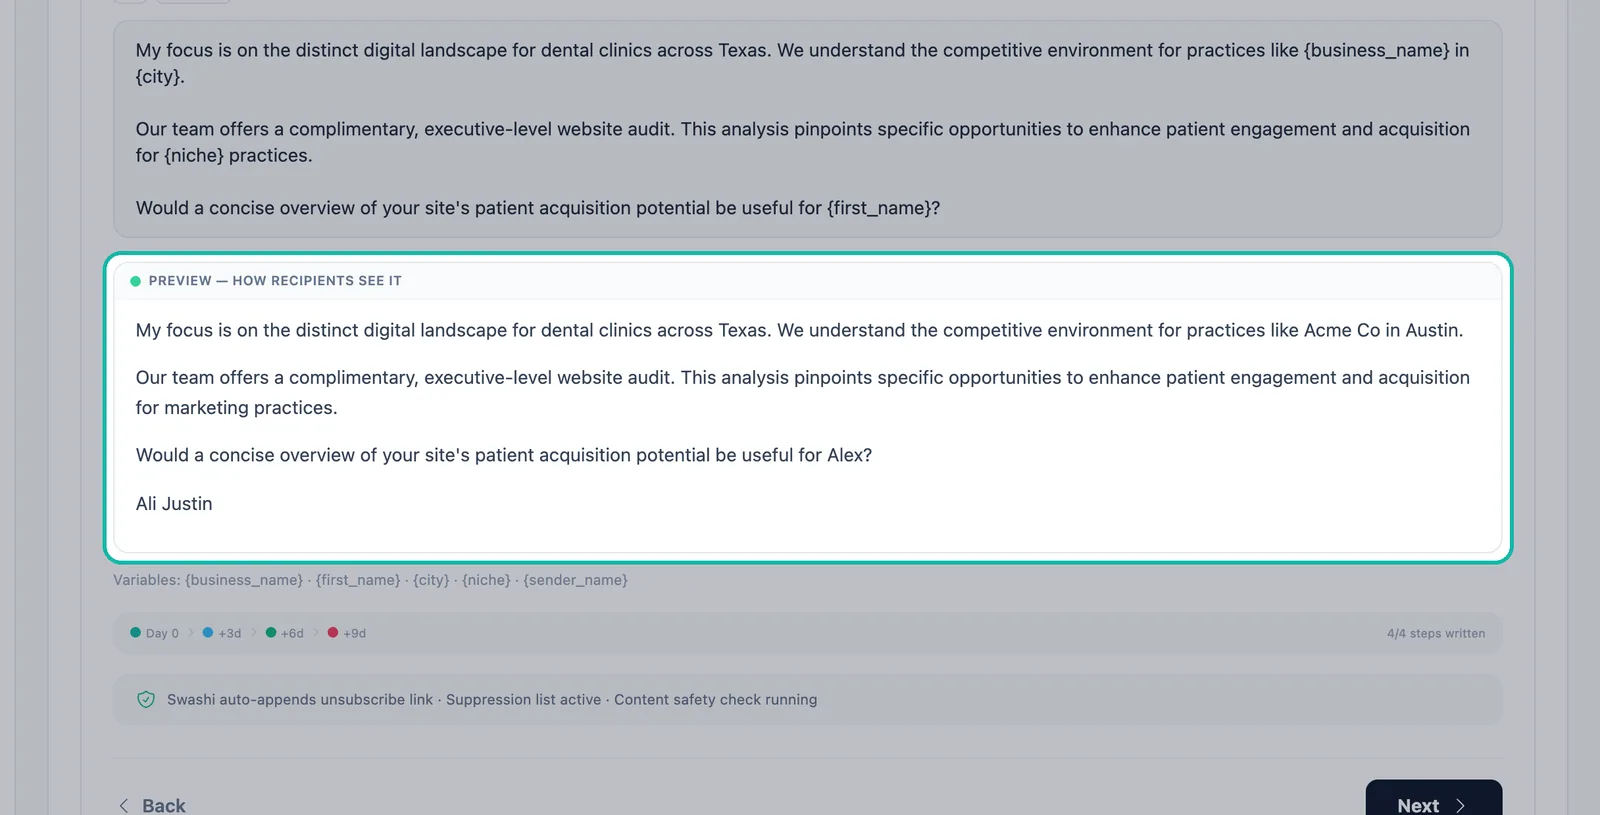
The preview shows the email with variables filled in.
Prefer to start from a draft? Click Start with a template and choose Cold Intro, Follow-up 1, Follow-up 2 or Value-First.
Tip:If you see "Spam trigger word detected. Remove it to improve deliverability.", edit the wording before you continue.
Every email also carries the safety line "Swashi auto-appends unsubscribe link · Suppression list active · Content safety check running". See Compliance and unsubscribe.
Step 3: Schedule
- Campaign Name. Give the campaign a name you will recognize in reports.
- Timezone. The timezone your schedule uses.
- Send window (local time). The hours emails may go out, for example business hours.
- Send on. The days of the week to send.
- Start date (optional) and End date (optional). With an end date, the campaign runs daily until that date. Leave it blank to run until all leads are contacted.
- Daily Cap (emails). The most emails this campaign sends per day. Sending also stays within each mailbox's safe warm-up limit.
Step 4: Automate
- Check the Campaign Summary: Targeting, Max Leads, Send Window, Timezone, Daily Cap and Est. Duration.
- Review the protection checklist: suppression list checked before every send, unsubscribe link auto-appended, 72-hour cooldown between emails to the same lead, bounce rate above 5% auto-pauses the account, spam trigger scan and content safety check.
- Click Automate. Your campaign appears under Campaigns with its Next run, sends and reply rate.
Managing a running campaign
- Pause and Resume a campaign at any time.
- Next Run uses your campaign timezone. Pick today and an earlier time to run sooner.
- Watch the Live Email Sequence to see exactly what is being sent at each step. See Unified Inbox.
- Status messages explain a quiet day, for example "No eligible leads left today — resumes at your next scheduled run." or "Monthly send limit reached — resumes on the 1st."
Next steps
Frequently asked questions
Do I have to write the emails myself?+
No. Describe your offer in one sentence and Copy Intelligence writes all four emails of the sequence in your brand voice. You can edit any step or start from a template instead.
Which leads does a campaign contact?+
The leads that match your Audience settings: ICP tier, regions, niche and lead source (All Sources, Sheet Targets or My Uploaded Leads), up to the maximum you set.
Can I change the lead source of a running campaign?+
Pause the campaign first. The app locks the lead source while a campaign is running.
What happens if I leave the end date blank?+
The campaign runs daily until all matching leads are contacted. If you set an end date, it runs daily until that date.
Why can't I launch my campaign?+
You need at least one connected sending account. If Email Studio shows 'Connect an email account first', connect a mailbox in Email Sending Accounts and try again.