How to connect LinkedIn, Facebook and Instagram to Swashi
Connect LinkedIn, Facebook and Instagram to Swashi Social Studio. Learn the Facebook Page and Instagram professional account you need, and what Connected means.
- 1Open Social Studio. Click Social Studio in the sidebar and find the Connected Networks cards.
- 2Click Connect. On the card of a network that shows Not Connected, click + Connect.
- 3Sign in and approve. Sign in on the network's own page and approve the access Swashi asks for.
- 4Confirm the connection. Back in Swashi, the card shows Connected and the message says your account is ready to post.
- 5Choose where to post. Click the connected cards to toggle which networks each post goes to.
Prefer to watch? This tutorial walks through the same steps in the live app. All tutorials →
To connect a social network to Swashi, open Social Studio, click + Connect on the network's card, sign in on that network's own page and approve access. You can connect LinkedIn, Facebook and Instagram. Once a card shows Connected, Swashi can publish there for you.
Product: Social Studio
This guide is for anyone setting up Social Studio for the first time, or fixing a network that stopped posting. It follows the "Connect your networks" steps in the EP3 video tutorial, "How to Automate Social Media with Swashi."
Before you start
- LinkedIn: you need the LinkedIn account you want Swashi to post from.
- Facebook: you need to be an admin of the Facebook Page you want to post to.
- Instagram: your Instagram account must be a professional account linked to a Facebook Page you manage. Instagram connects through Facebook.
You never type a social media password into Swashi. Each network uses its own secure sign-in, and Swashi never stores your password.
Network status at a glance
The Connected Networks panel at the top of Social Studio shows one card per network.
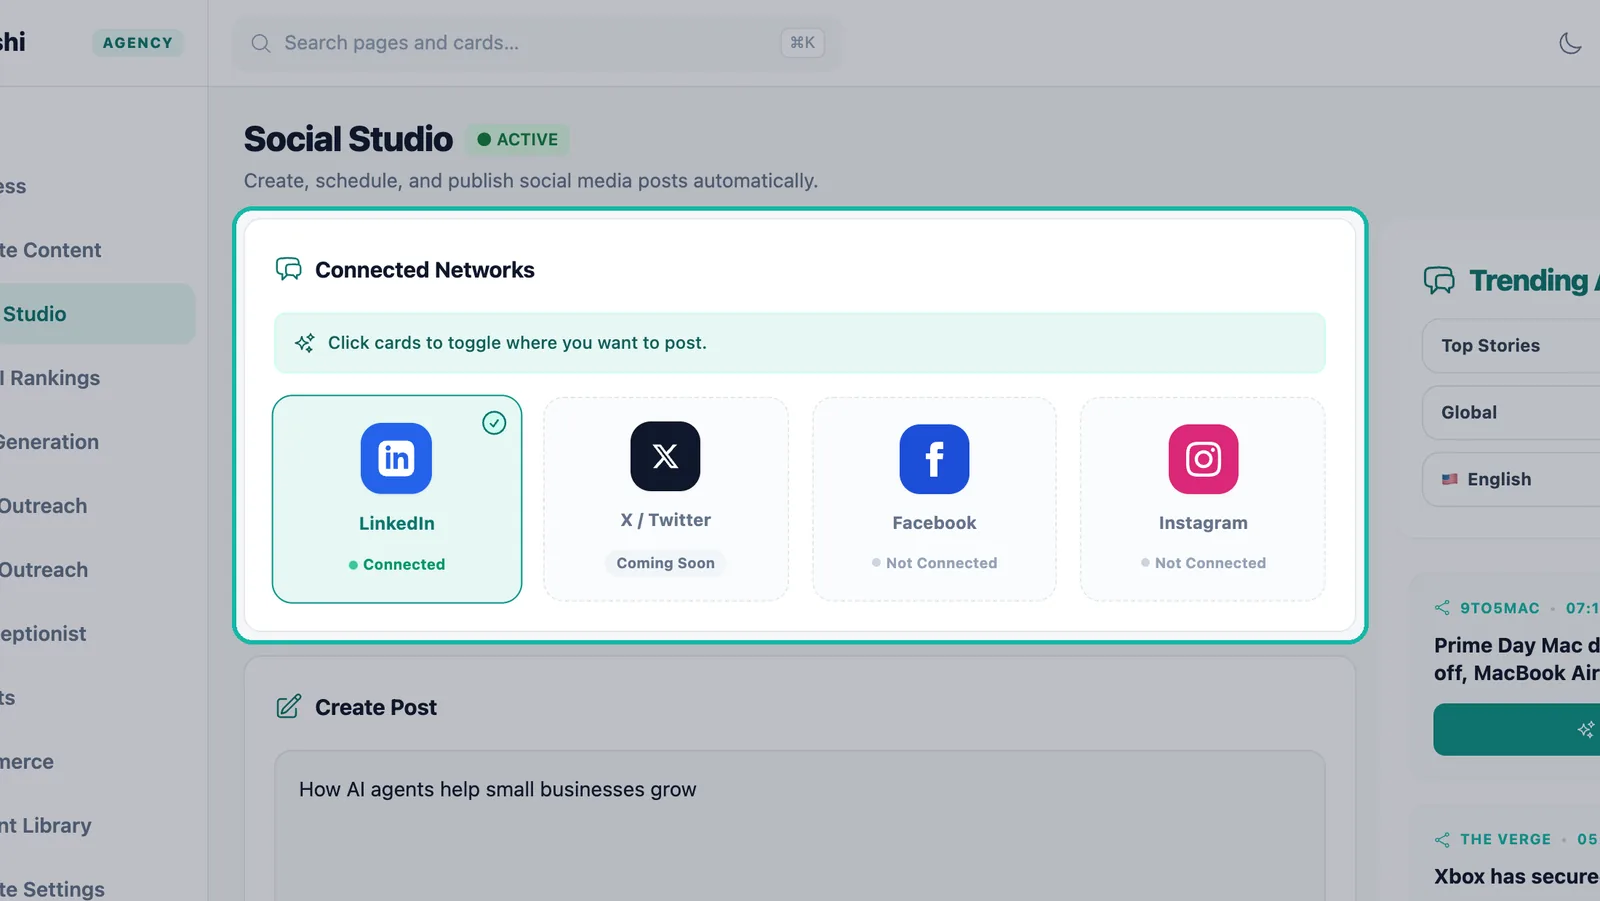
| Network | How it connects | Notes |
|---|---|---|
| Sign in with LinkedIn | Text and image posts | |
| Sign in with Facebook | Posts to a Facebook Page you manage | |
| Connects via Facebook | Every post needs an image or video | |
| X / Twitter | — | Shown as Coming Soon in the app |
Each card shows one of these statuses:
| Status | Meaning |
|---|---|
| Connected | Ready. Swashi can publish here. |
| Not Connected | Click + Connect to set it up. |
| Reconnect needed | Access expired or was removed. Click Reconnect. |
| Coming Soon | Not available yet. |
Connect a network
Click Social Studio in the sidebar.
Under Connected Networks, find a card that shows Not Connected.
Click + Connect Facebook, + Connect Instagram or the LinkedIn connect button. One click starts the secure connection with the network.
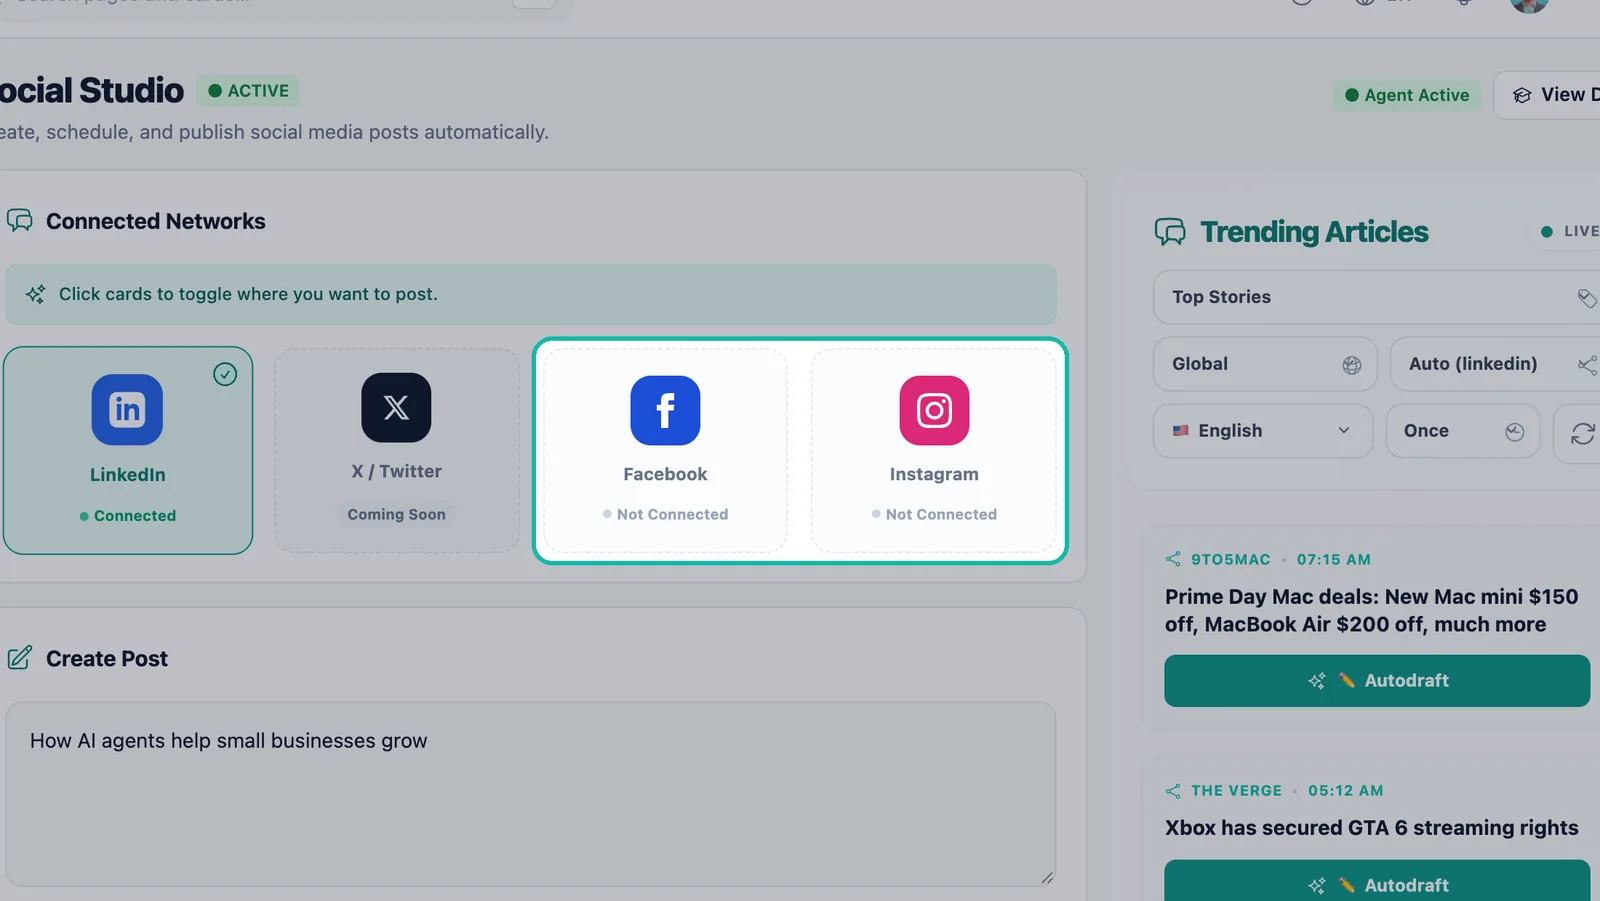
A card marked Not Connected starts the secure connection with one click. Sign in on the network's page and approve the access Swashi asks for.
You return to Swashi. The message Connected reads "Your account is connected and ready to post," and the card now shows Connected.
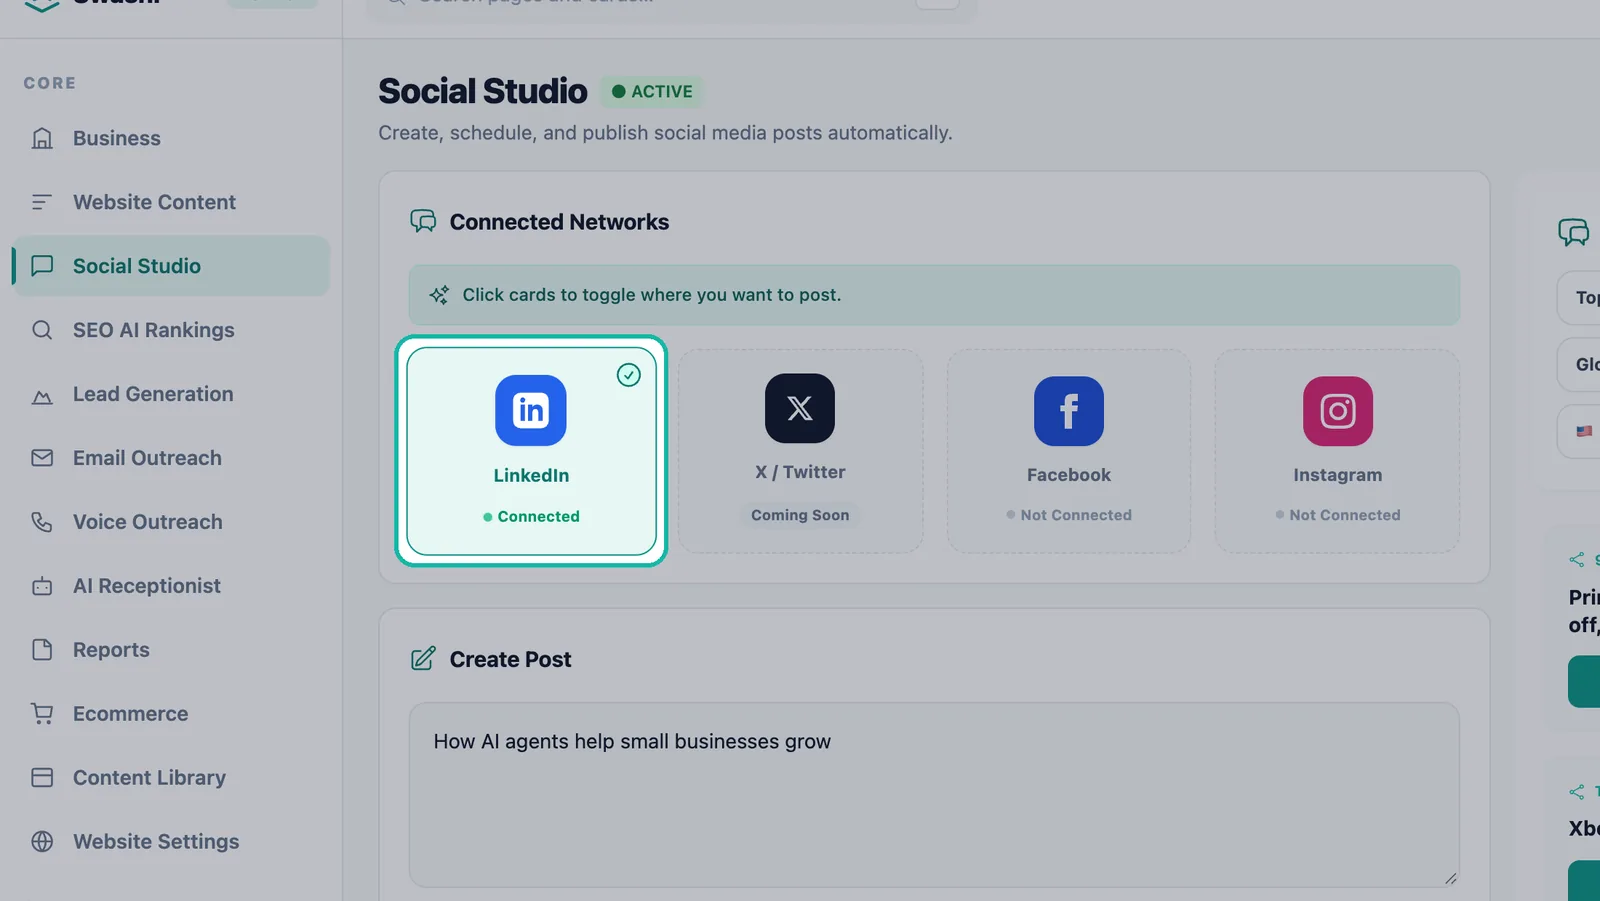
A connected network shows Connected and is ready to post.
Connect each network once. After that, click the cards to toggle where each post goes. See create and schedule posts.
Connect Instagram
Instagram connects through Facebook, so the card reads Connects via Facebook.
- Make sure your Instagram account is a professional account linked to a Facebook Page you manage.
- Click + Connect Instagram.
- Sign in with the Facebook account that manages that Page and approve access.
Important:Instagram posts always need an image or a video. Add one with Add Image or Generate Image before you schedule.
Disconnect or reconnect
- Disconnect: click ✕ Disconnect on the network's card. Swashi stops posting there.
- Reconnect: if a card shows Reconnect needed, click Reconnect and approve access again.
Swashi also flags a social connection that is expiring soon or has expired — reconnect. Reconnect when you see it so your scheduled posts are not held up.
Troubleshooting
| Message | What it means and what to do |
|---|---|
| "Facebook returned no Page you manage." | Instagram and Facebook posting need a Facebook Page, with Instagram as a professional account linked to it. Create or get admin access to a Page, then connect again. |
| "The network refused or cancelled the authorisation." | You may not be an admin of a Facebook Page, or a permission was declined. Connect again and approve every permission requested. |
| "This sign-in link had expired." | Click Connect again to start a fresh sign-in. |
| "Connection did not complete" / "The network could not complete the connection." | Try again. If it keeps failing, contact support from the Support Center in the sidebar. |
You can also review your connected accounts in your account security settings. See security and privacy.
Next steps
- Create and schedule your first post.
- Turn trending news into posts.
- See the network-specific pages for LinkedIn, Facebook and Instagram automation.
Frequently asked questions
Which social networks can I connect to Swashi?+
LinkedIn, Facebook and Instagram. X / Twitter is shown as Coming Soon in Social Studio.
Does Swashi store my social media passwords?+
No. You sign in on the network's own page and approve access. Swashi never sees or stores your social media password.
Why do I need a Facebook Page to post to Instagram?+
Instagram connects through Facebook. Posting to Instagram and Facebook needs a Facebook Page you manage, with Instagram set up as a professional account linked to that Page.
What does Reconnect needed mean?+
The network's access has expired or been removed. Click Reconnect on the card and approve access again; your scheduled posts can then publish.
How do I disconnect a network?+
Click ✕ Disconnect on the network's card in Social Studio. You can connect it again at any time.