How to use the Ecommerce tab and the Ecommerce Agent
Learn how the Swashi Ecommerce tab works: connect a website, stage products, push them to the Ecommerce Agent queue and track each task in Upcoming Queue.
- 1Connect a website. Open Website Settings in the sidebar and connect the site you sell from, so the Ecommerce tab has an Active Connection.
- 2Open the Ecommerce tab. Click Ecommerce in the sidebar to open Commerce Intelligence.
- 3Stage products. Click Find Opportunities or Find Winners with AI, scan a niche and add the products you like to the Staging Area.
- 4Push a product to the agent. In the Staging Area, click Push to Queue on a product to hand it to the Ecommerce Agent.
- 5Add a product by URL. In the Ecommerce Agent card, paste a Product URL, pick a Category, Target Site and Frequency, then click Add to Queue.
- 6Follow progress. Watch the Upcoming Queue card, which shows each task as Scheduled or Running and how many are pending.
The Ecommerce tab is where you research products to sell and hand them to the Ecommerce Agent, Swashi's Product Research & Launch Agent. You find products, review them in a Staging Area, then push the ones you want to the agent's queue and follow each task as it runs. It is built for store owners and dropshippers who want to test product ideas without doing every step by hand.
Product: Commerce Scanner
When you click Ecommerce in the sidebar, the page opens as Commerce Intelligence: "Track products, optimize conversions, and schedule promotional campaigns with AI insights."
Before you start
- Connect your website. Open Website Settings in the sidebar and connect the site you sell from. See Connect your website. The Active Connection card on the Ecommerce tab shows the address of the site in use and an Online badge. If you have no site connected, it reads "No website selected".
- Check your scans. Product research uses your monthly Viral Research Scans. The Plan & Usage card on the right shows how many you have used.
- Fill in your Business Brain. It gives Swashi's AI the context of your business. See Business Brain.
What is on the Ecommerce tab
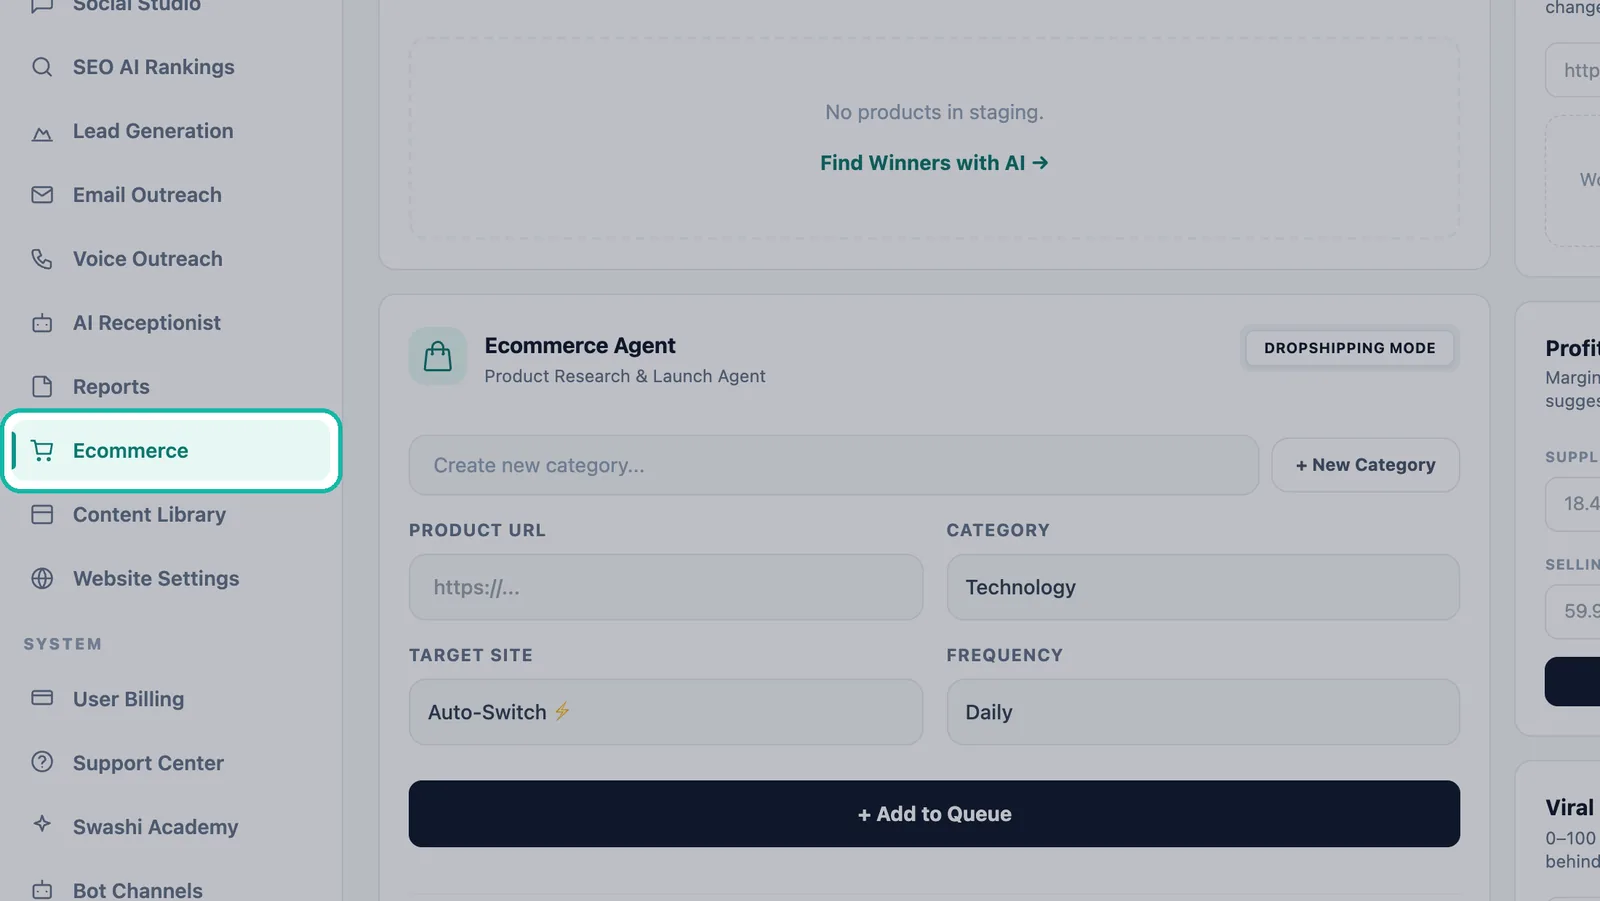
| Card | What it does |
|---|---|
| Staging Area | Products you found, waiting for review: "Products ready to be pushed to the agent." |
| Ecommerce Agent | Add a product by URL and keep a list of products for the agent. |
| Active Connection | The connected website the agent uses. |
| Optimization Layer | On/off switches for publishing options, saved with Save Changes. |
| Competitor Watch, Profit Calculator, Viral Score | Research tools in the right column. See Find winning products. |
| Plan & Usage | Your monthly limits and usage. |
| Upcoming Queue | Every ecommerce task that is scheduled or running. |
Stage products and push them to the agent
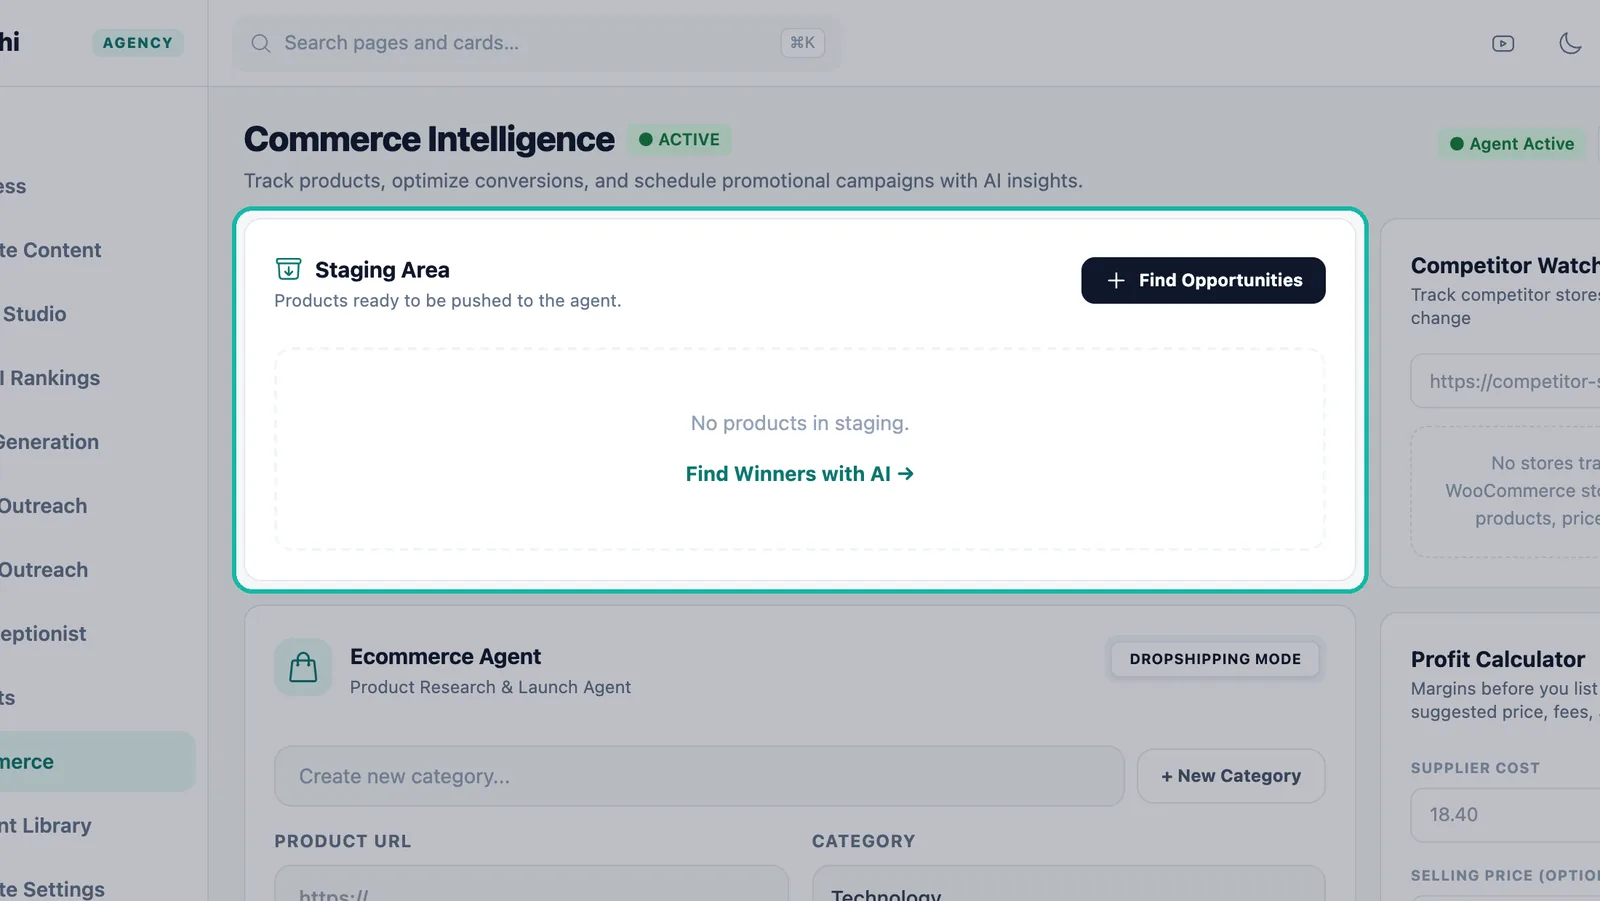
- In the Staging Area, click Find Opportunities (or Find Winners with AI when the area is empty).
- Scan a niche and click + ADD TO STAGING on the products you like. The full walkthrough is in Find winning products.
- Click Back to Dashboard to return. Each staged product shows its image, name, link and Viral and Profit badges.
- Click Push to Queue on a product. Swashi hands it to the Ecommerce Agent as a task for your connected website and removes it from the Staging Area. You see "Product pushed to global queue!"
Important:Push to Queue needs a connected website. If none is connected, you see "Please select a connected website from the sidebar first." Swashi uses your first connected website.
Add a product by URL
The Ecommerce Agent card ("Product Research & Launch Agent", labelled Dropshipping Mode) lets you add a product directly.
- Optional: type a name in Create new category... and click + New Category. Your own categories join the built-in ones (General, Technology, Marketing, Business, Finance).
- Paste the product link into Product URL.
- Choose a Category.
- Choose a Target Site, or leave it on Auto-Switch ⚡️.
- Choose a Frequency: Daily, Weekly, Bi-Weekly or Monthly.
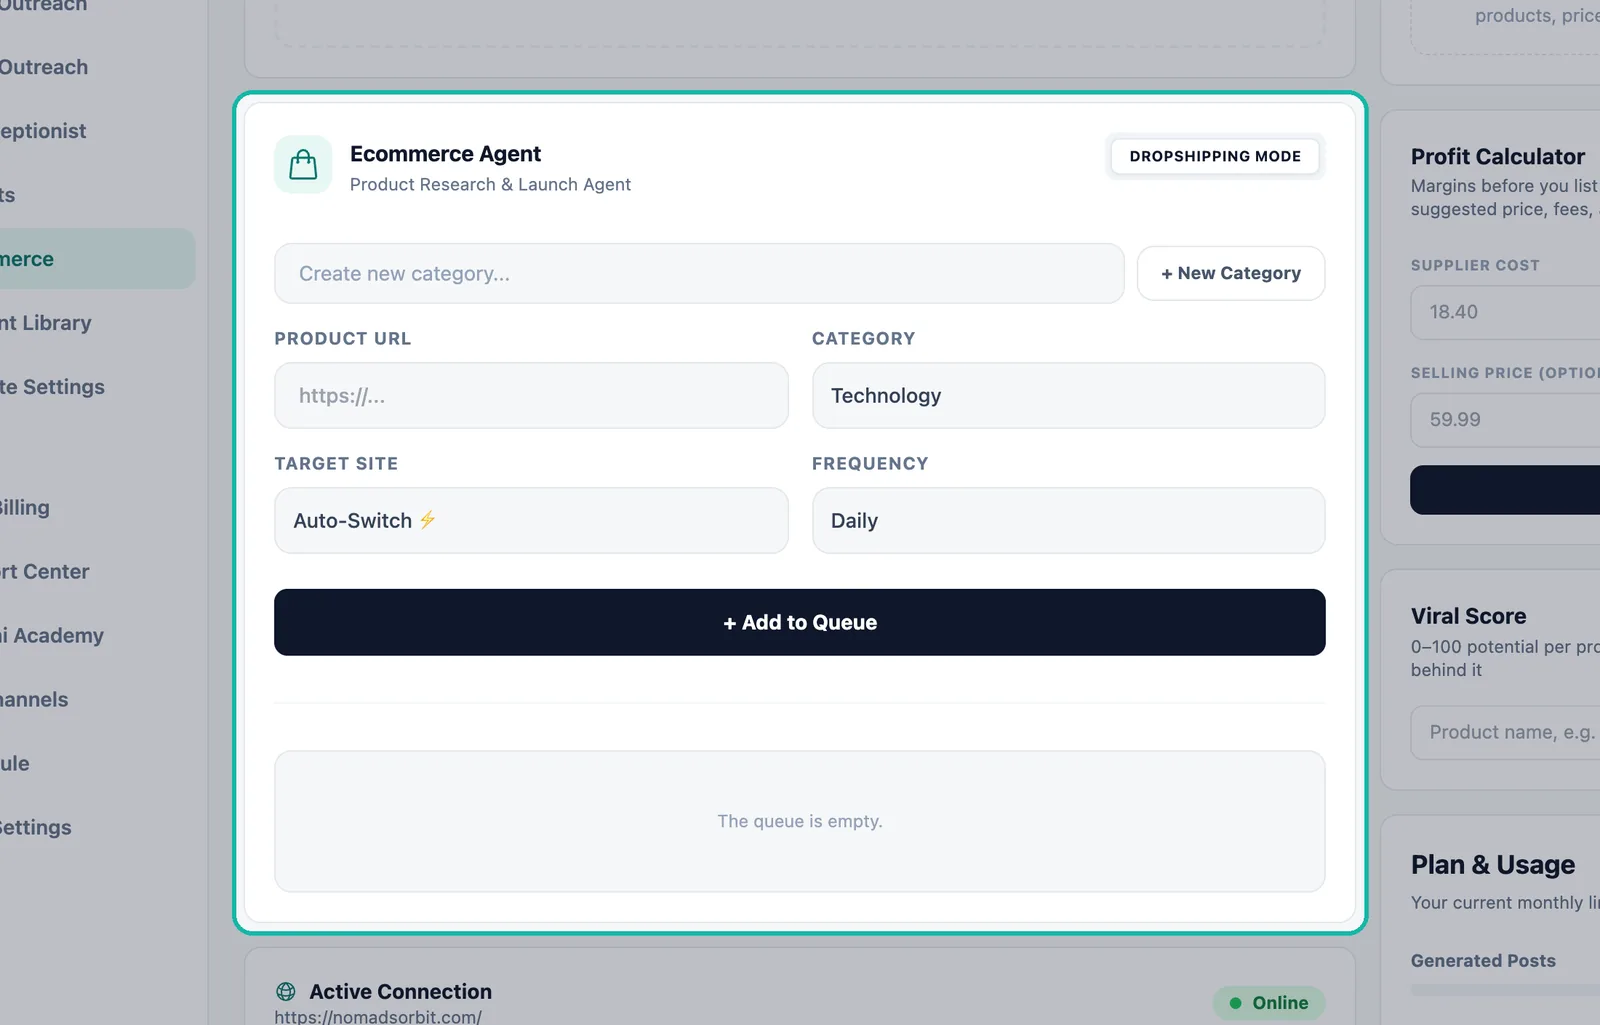
- Click + Add to Queue. The product appears in the list below the form with its category and target site. Click the trash icon to remove it.
Note:In the classic layout, a Start Agent card sends every product in this list to the agent at once and shows a progress count, and an Autopilot Agent card ("Automate processing while you sleep.") has an on/off switch saved with Update Schedule. The current layout replaces those cards with Competitor Watch, Profit Calculator and Viral Score, so use Push to Queue from the Staging Area to send a product to the agent.
Follow the queue
The Upcoming Queue card lists your ecommerce tasks in time order and shows a count such as "3 Pending". Each task is marked ○ Scheduled or ● Running... with its time. When nothing is waiting, it reads "No research/generation tasks queued." Finished tasks leave the list.
Plans and limits
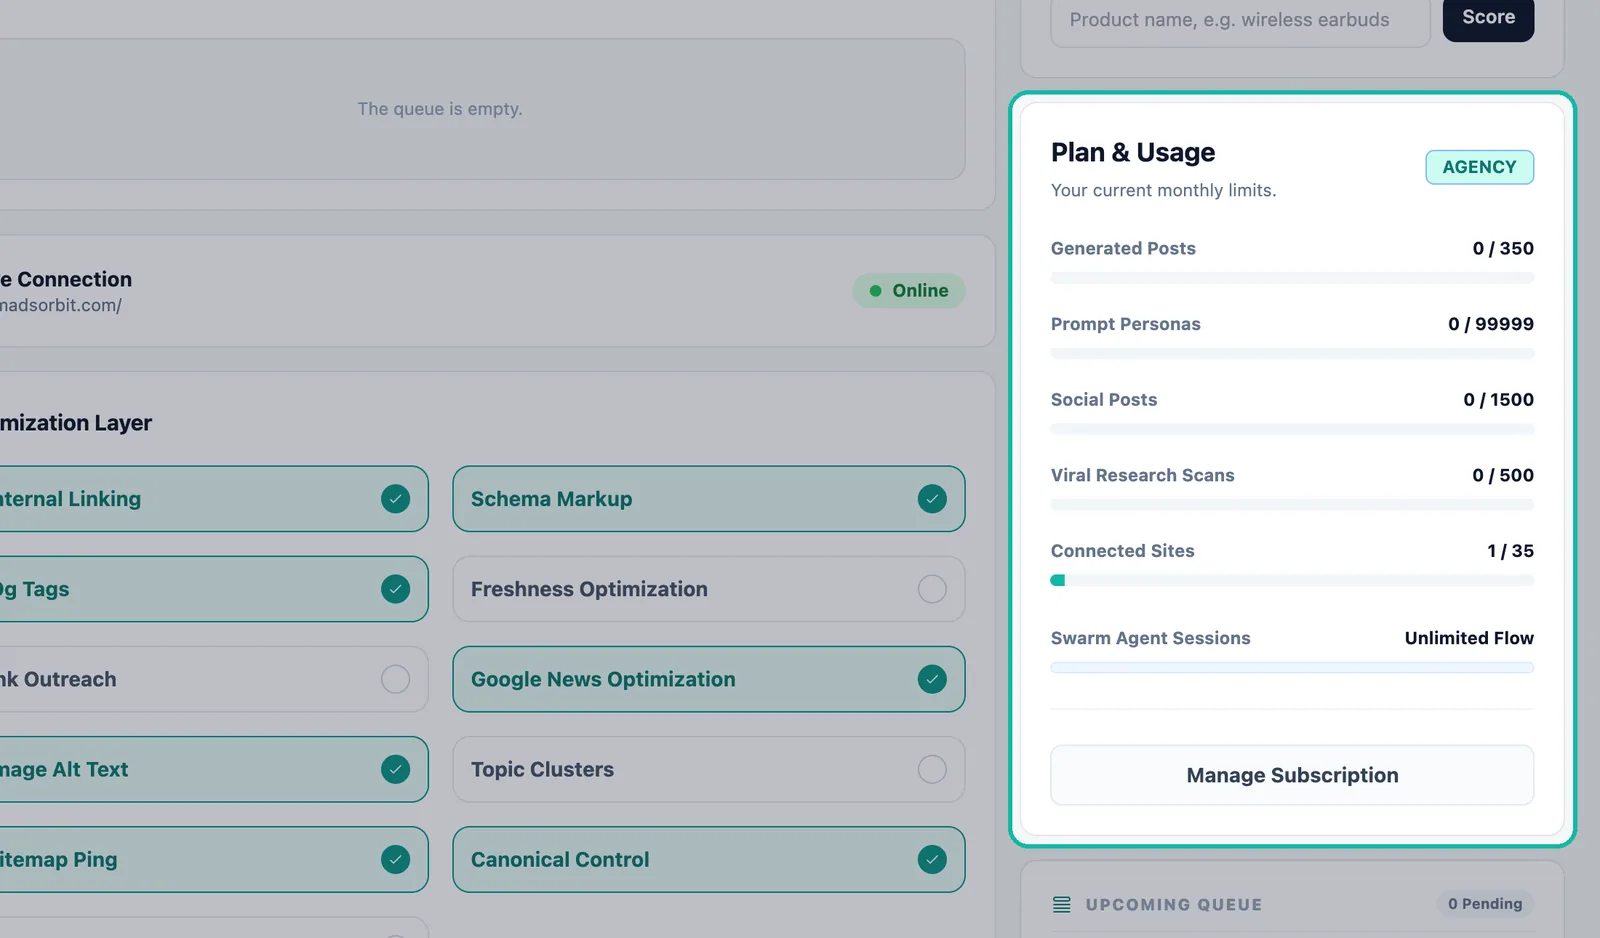
| Item | Plan availability |
|---|---|
| Product research scans (Viral Research Scans) | Every plan: Free 1, Starter 10, Growth 100, Agency 500, Enterprise 5,000 per month |
| Ecommerce Intelligence | Agency and Enterprise |
| Competitor Watch | Agency and higher |
A Research Pack add-on adds 100 scans. Compare plans in Plans and billing, and see current prices on the pricing page.
Troubleshooting
- "No website selected". Connect a site in Website Settings, then reopen the Ecommerce tab.
- "This product is already in your Staging Area!" The product is already staged. Push or remove the existing one.
- Queue shows "Queue sync unavailable — refreshing..." The page is reconnecting to your queue. Wait a moment or reload.
Next steps
Frequently asked questions
Do I need a connected website to use the Ecommerce tab?+
You can research and stage products without one, but Push to Queue needs a connected website. Without one, the app shows 'Please select a connected website from the sidebar first.'
Which plans include Ecommerce Intelligence?+
Ecommerce Intelligence is listed on the Agency and Enterprise plans. Product research scans are available on every plan within its monthly Viral Research Scans allowance, and Competitor Watch requires Agency or higher.
What is Dropshipping Mode?+
Dropshipping Mode is the label on the Ecommerce Agent card. It shows that the agent works on products you source from suppliers rather than stock you hold yourself. It is not a switch you need to turn on.
Where do I see what the Ecommerce Agent is working on?+
The Upcoming Queue card lists every ecommerce task that is scheduled or running, with its time, and shows the number of pending tasks.
Why can't I see the Start Agent or Autopilot Agent cards?+
In the current layout those cards are replaced by Competitor Watch, Profit Calculator and Viral Score. Use Push to Queue in the Staging Area to send a product to the agent.